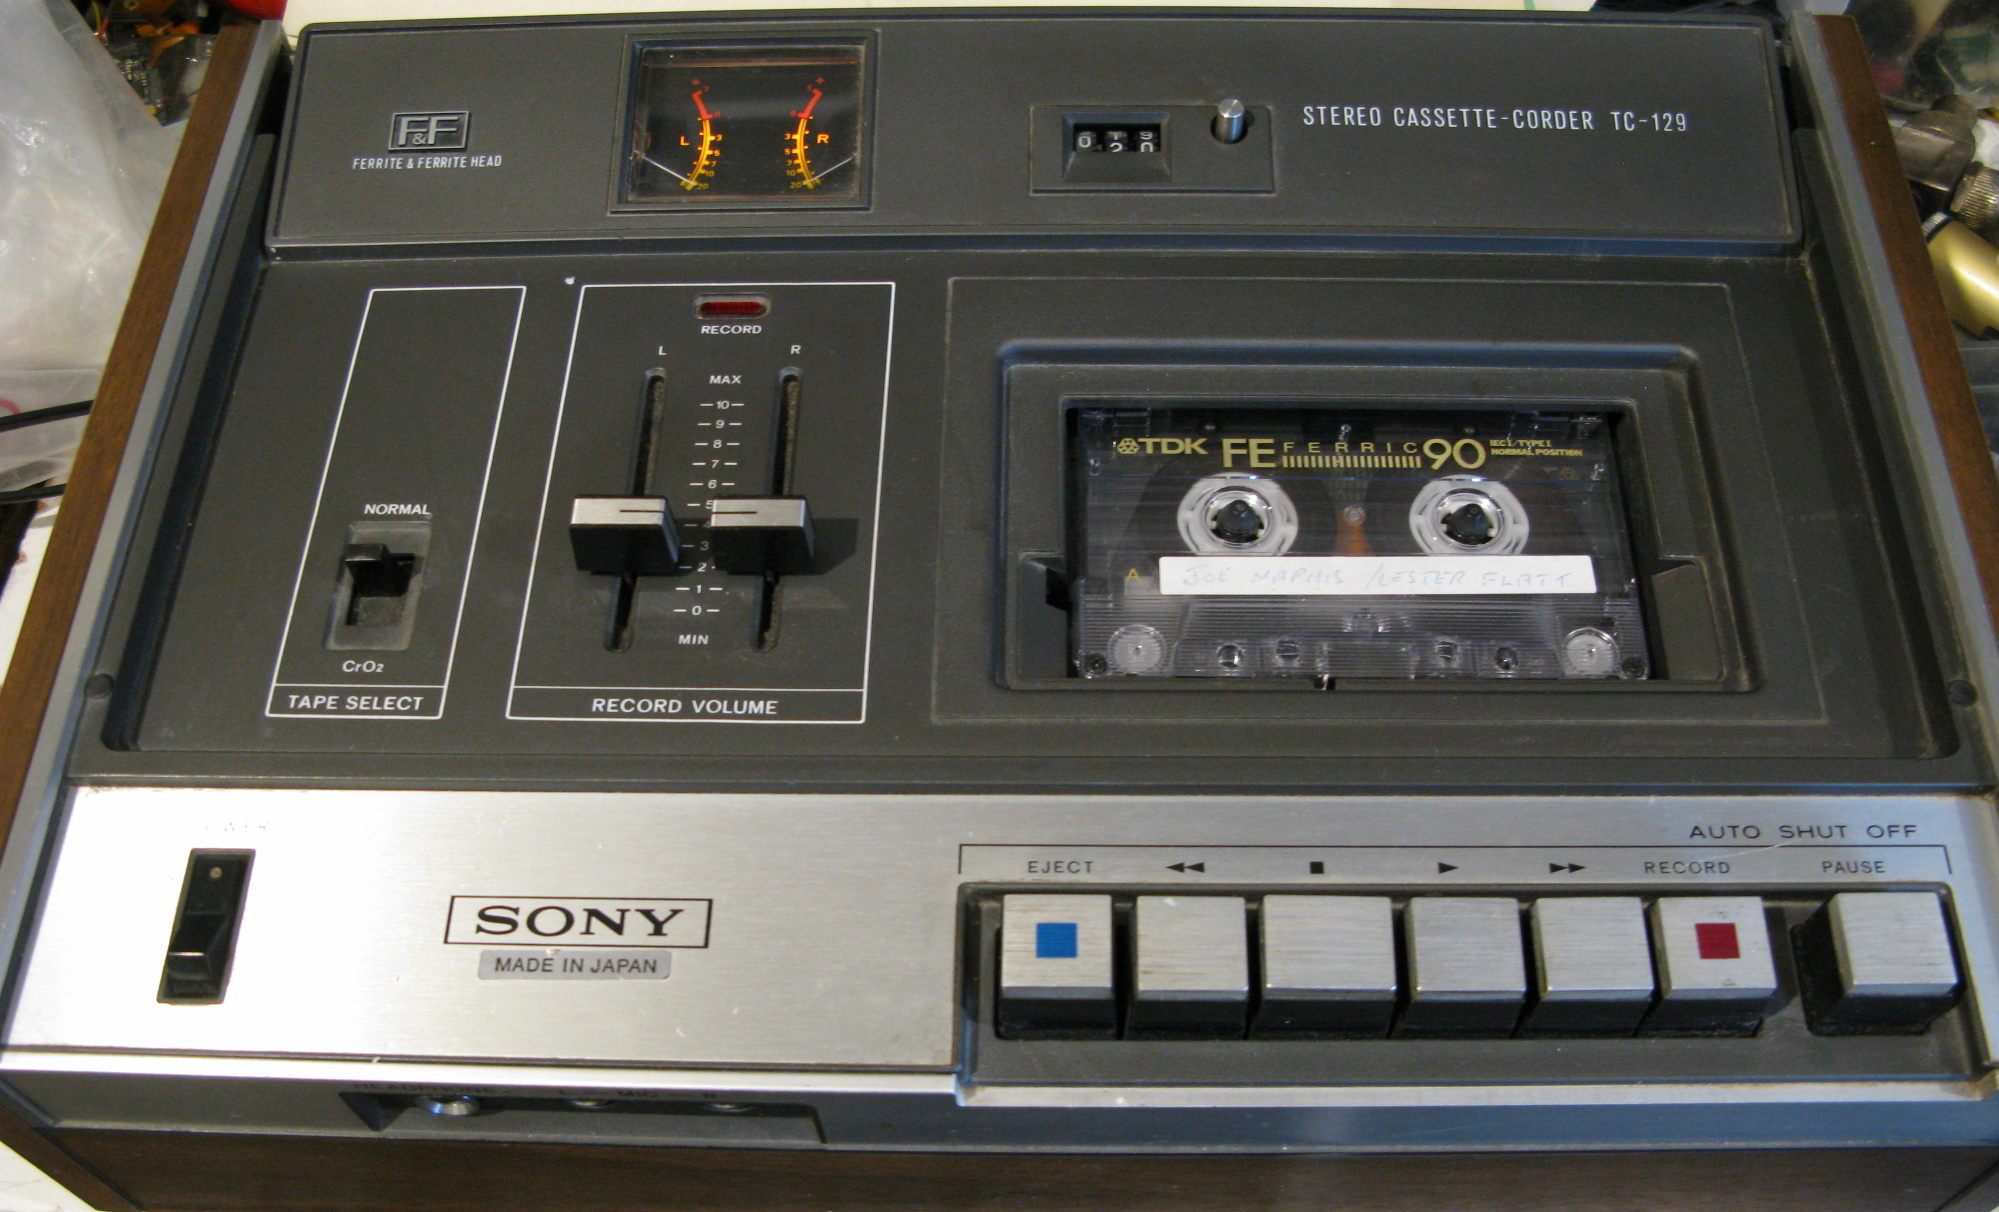
There are a lot of similar models in the Sony TC series, and the mechanisms are all different, some of them substantially. The TC-129 seems to be fairly similar to the TC-131SD except for the auto-stop mechanism, and thus I found this youtube video useful in showing how the mechanism goes together. Note that in these models there is only one main belt (and one for the counter).
The mechanism, electronics and PSU, and all controls are attached to a metal inner chassis, this chassis is then screwed into the case; there's no need to separate the mechanism from the inner chassis to remove it.
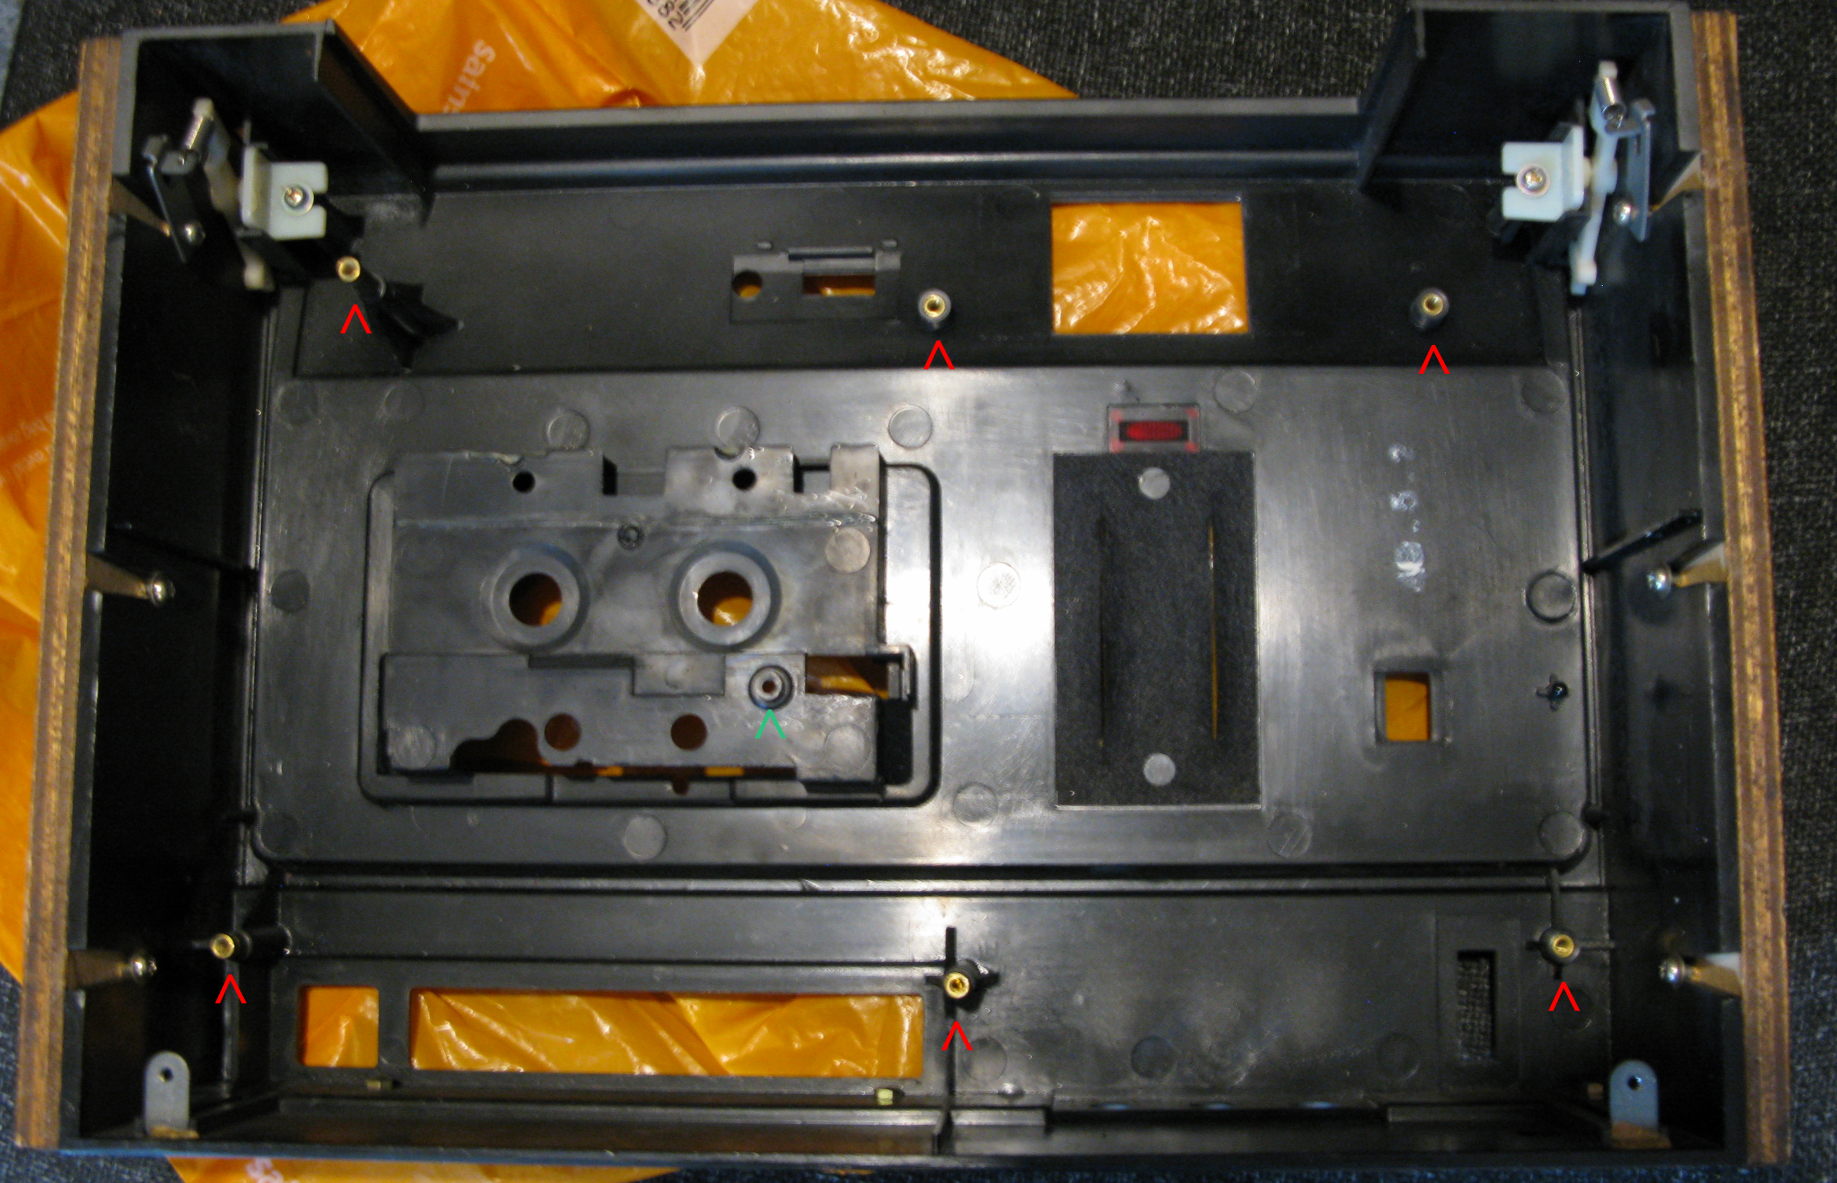
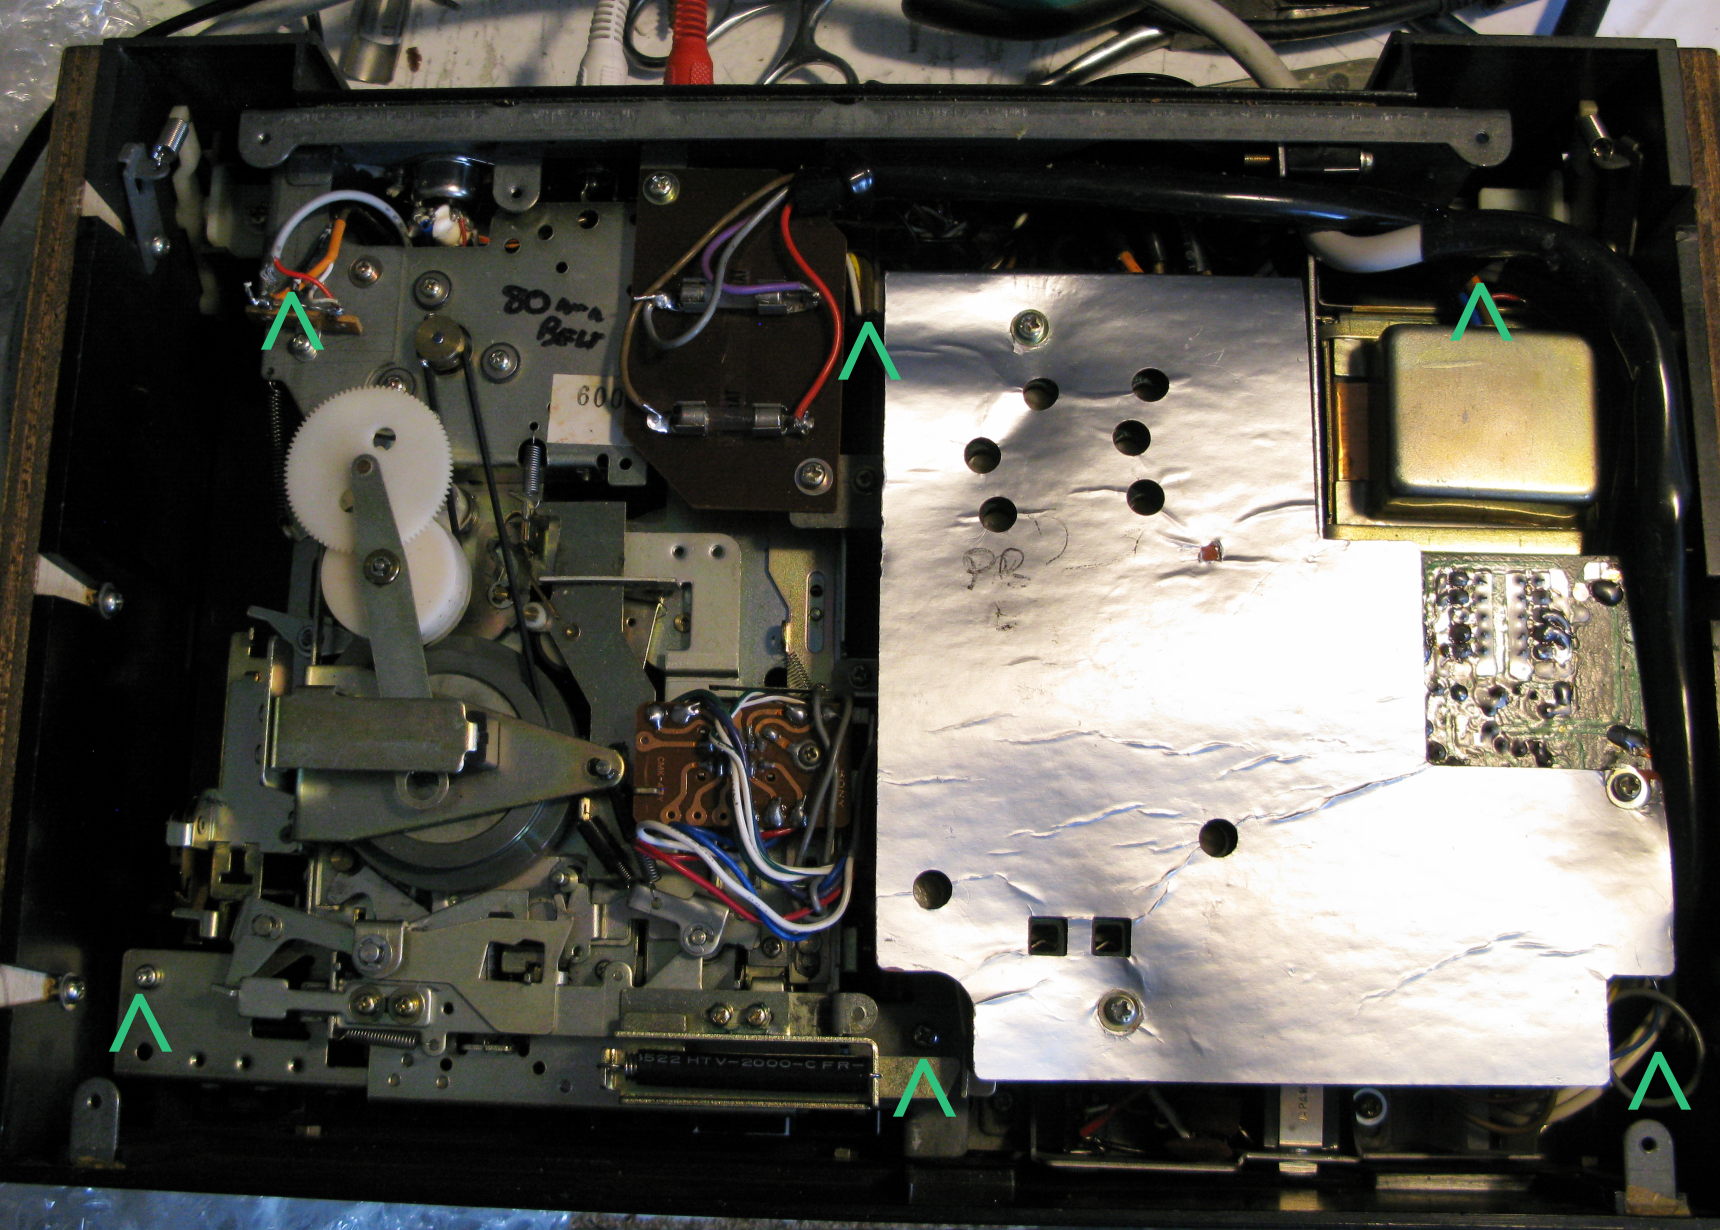
After removing the back screws the back wooden board comes off showing the mechanism and the electronics (with a silvery cover). To remove everything from the case, a screw in the cassette well on the front needs removing and then the 6 from the chassis; three of these are on the mechanism, one is near the rear of the centre rail between the mechanism and electronics, one is just behind the transformer, and the last at the bottom right. The knobs on the sliders must also be taken off. There is no need to remove the voltage selector (as on some other models). The following picture shows the case after removal:
For reassembly, I found it best to put the contents on the bench and then place the cover over the top, it takes a bittle of fiddling to get it in right, in particular:
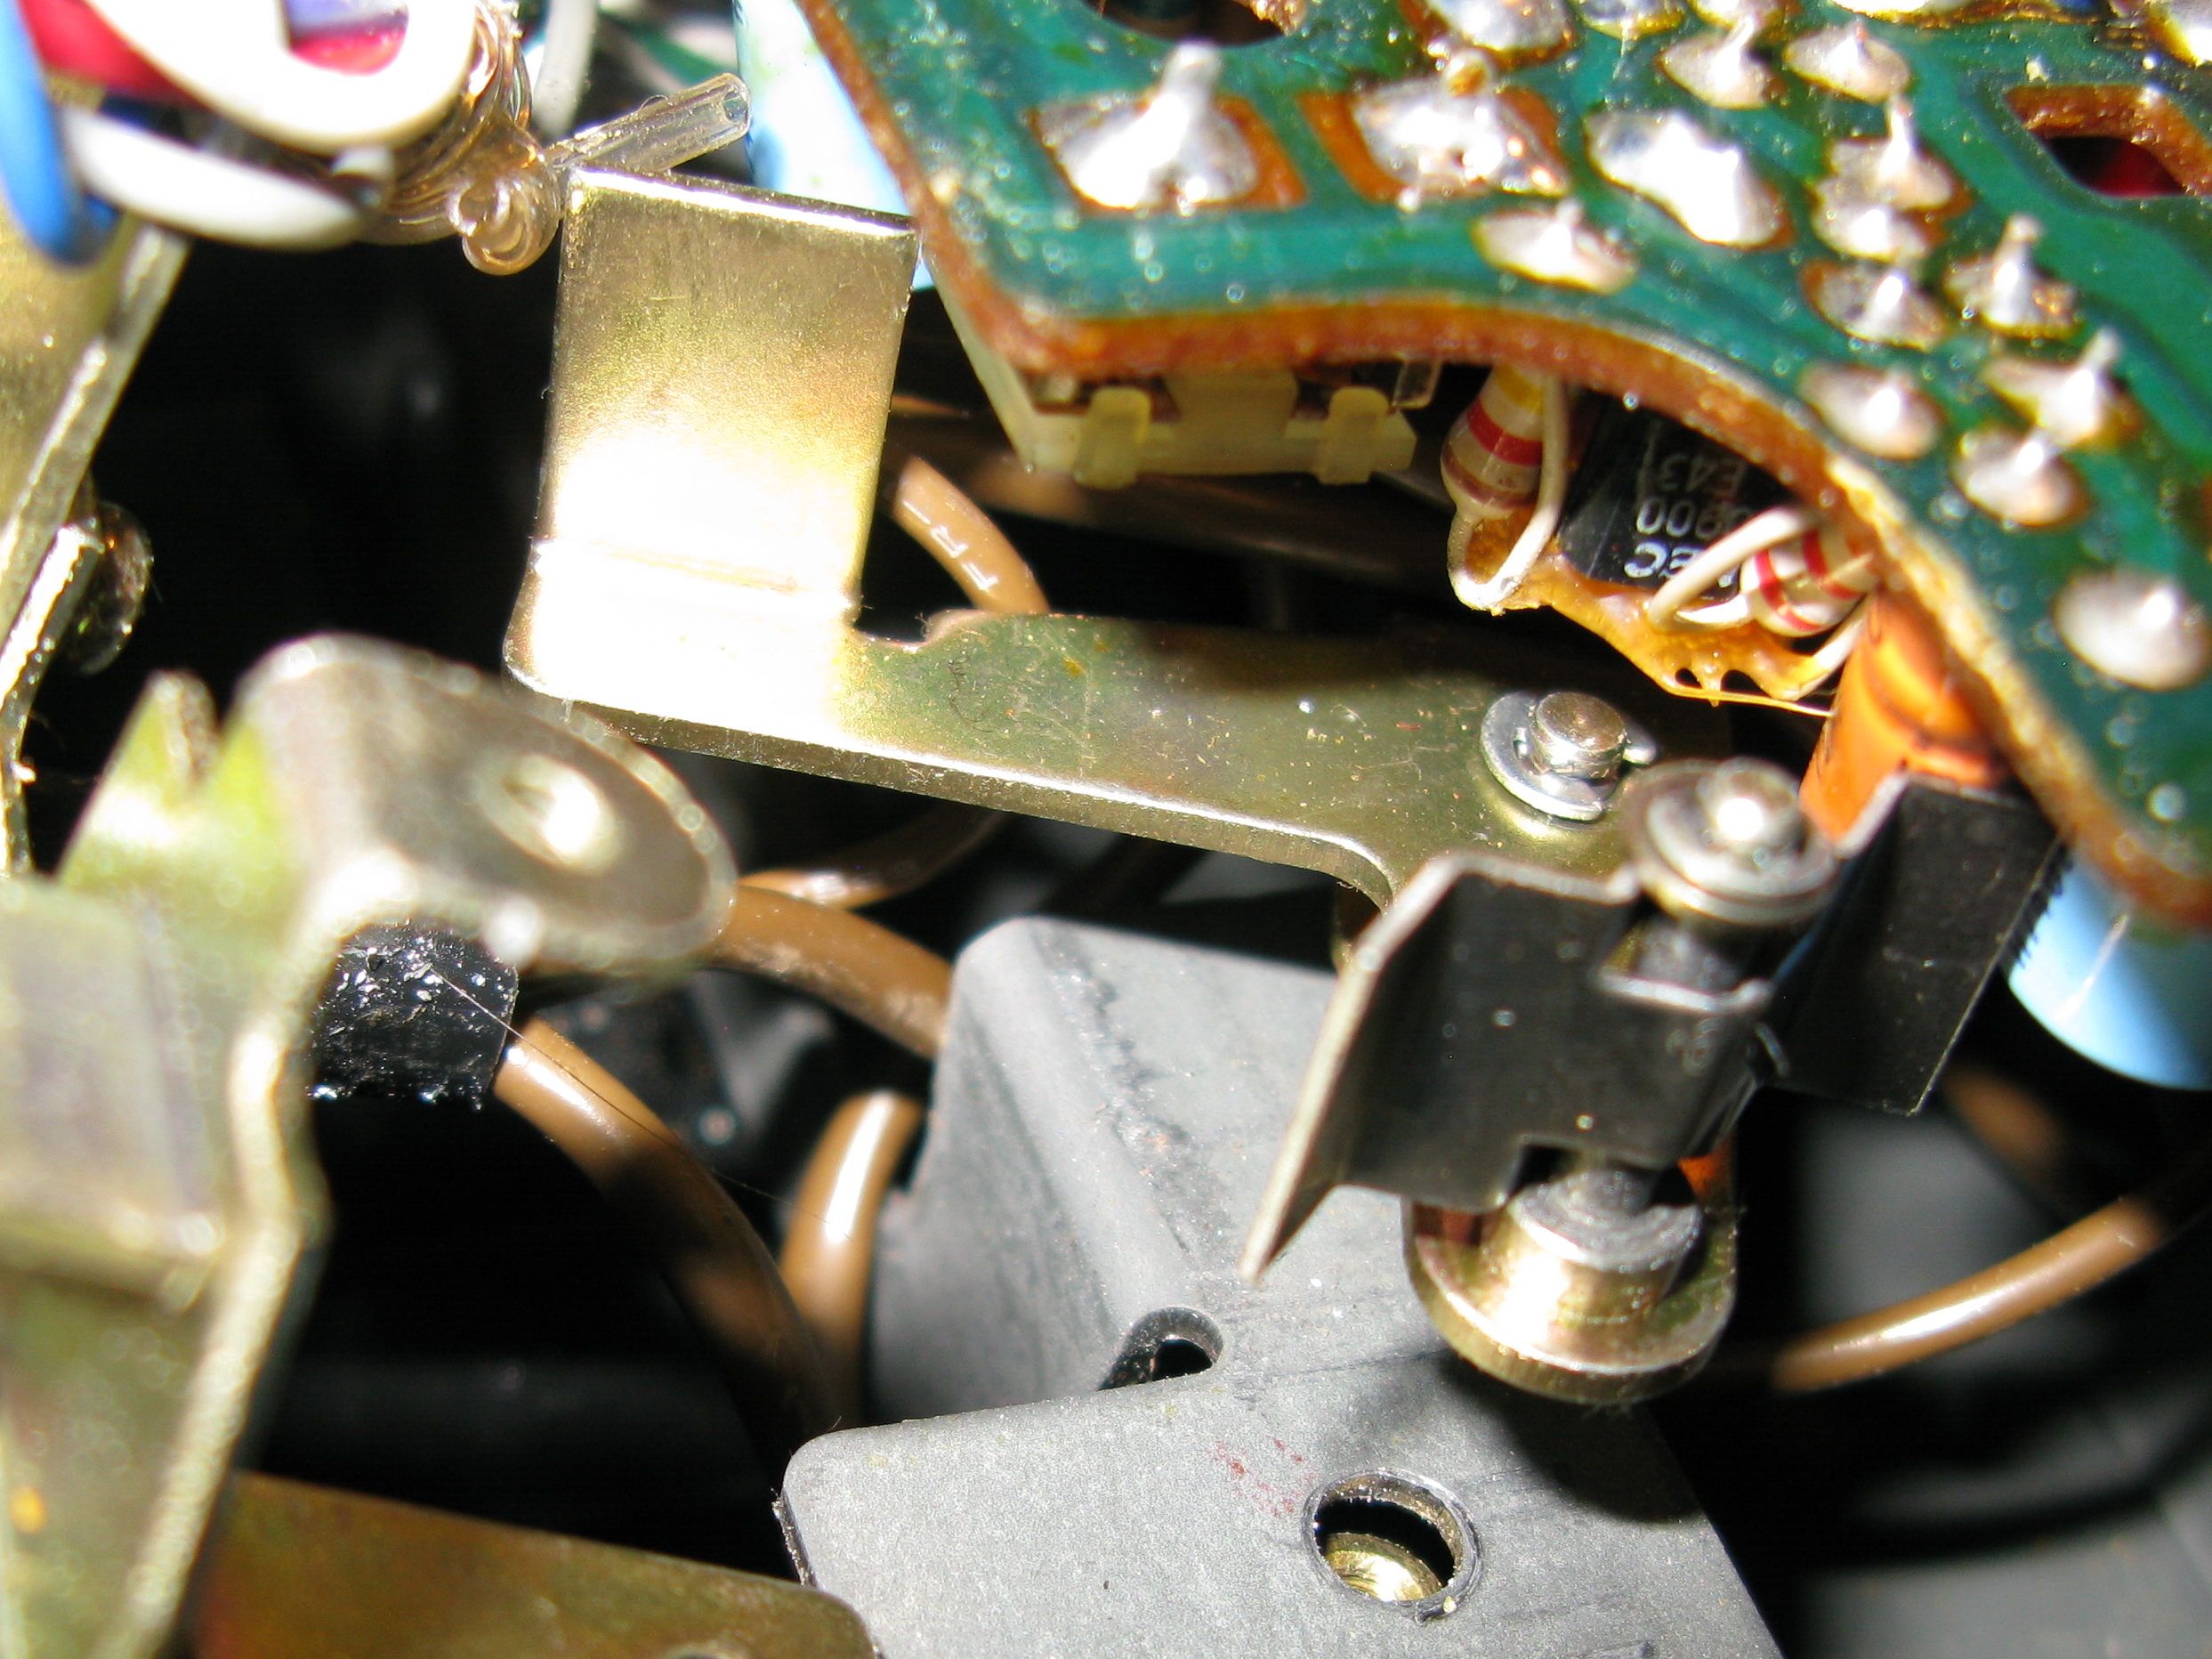
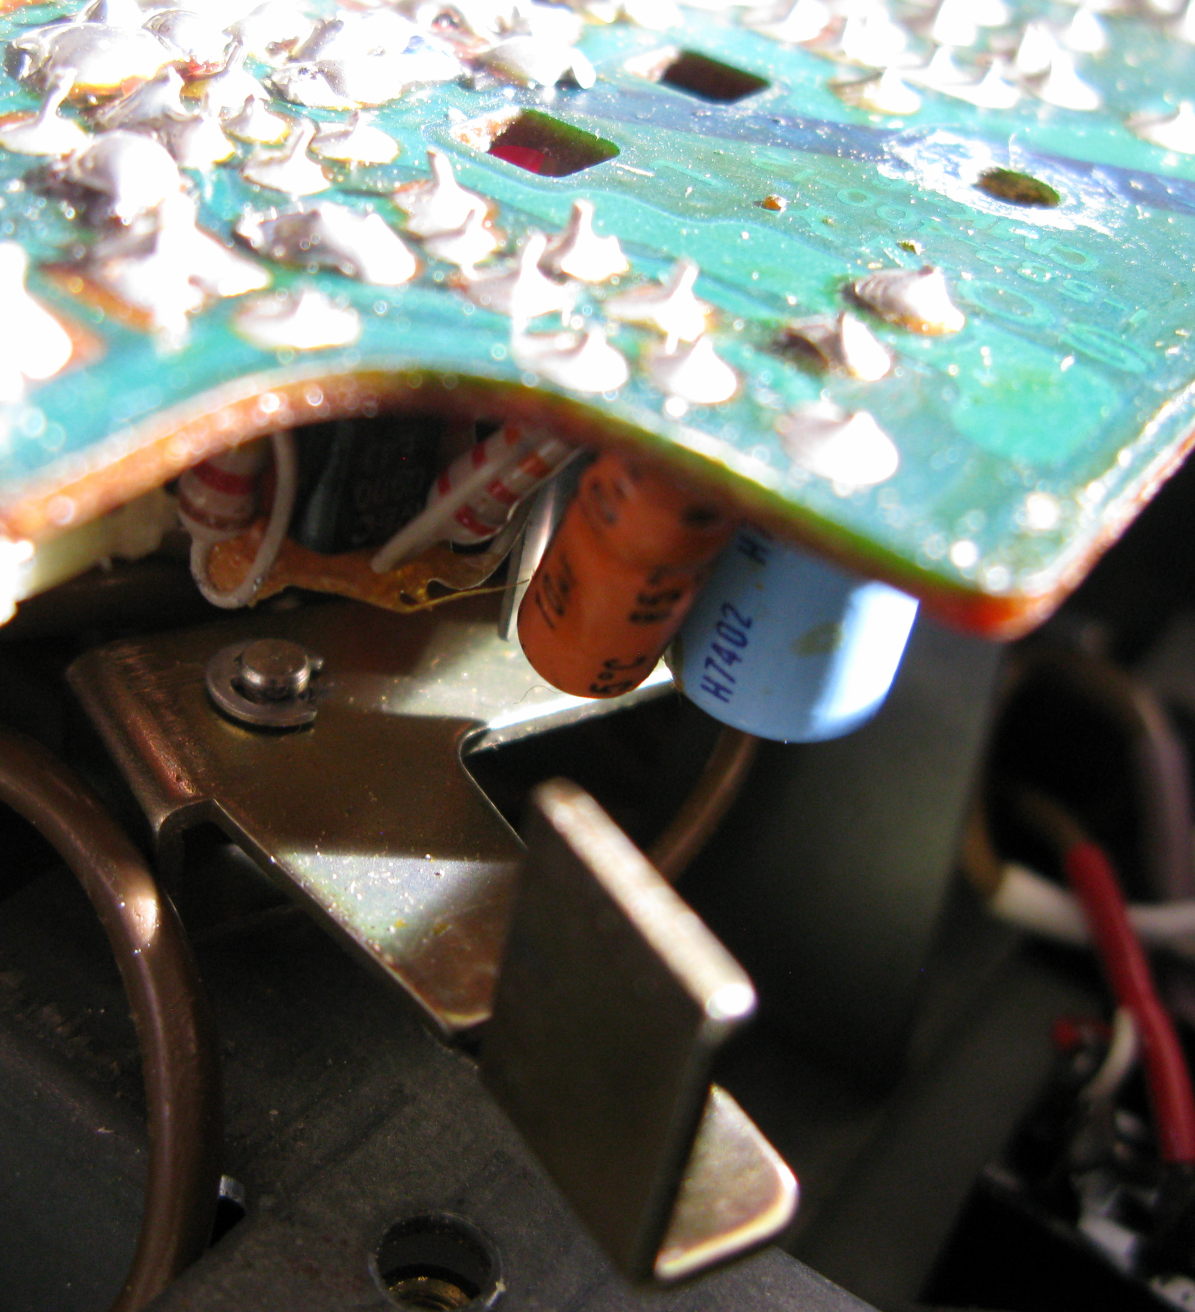
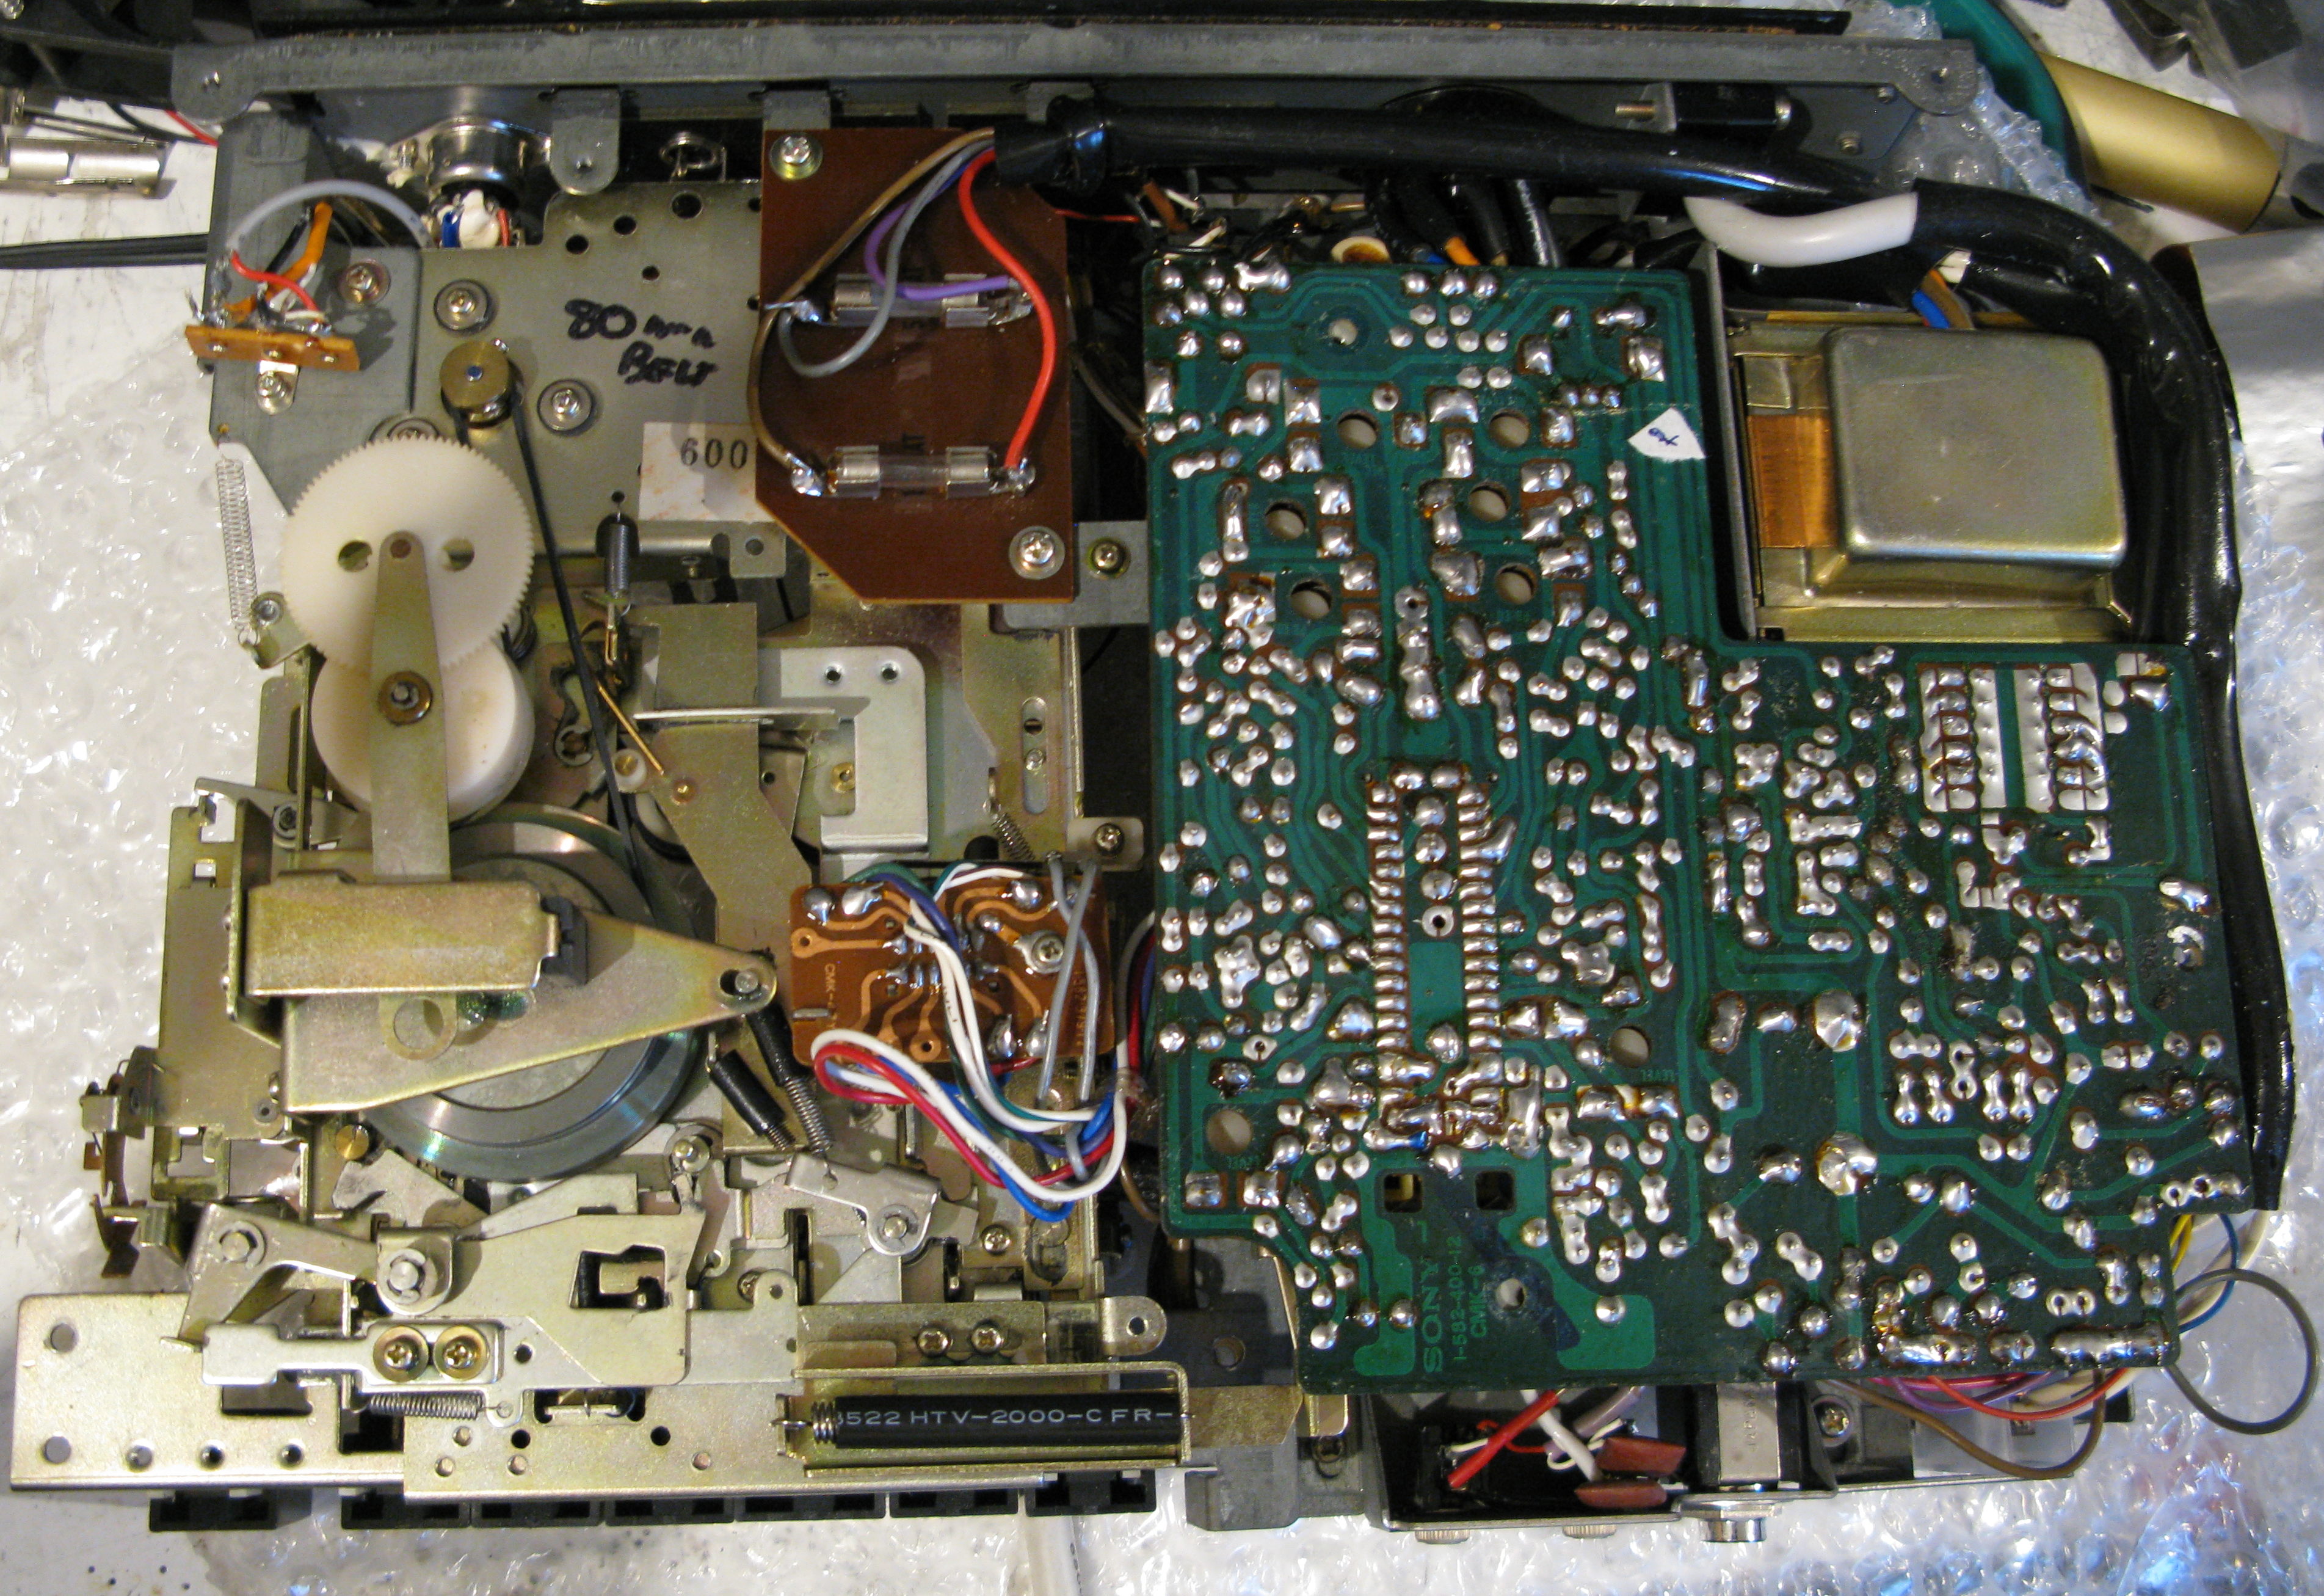
The mechanism and electronics (with cover off):
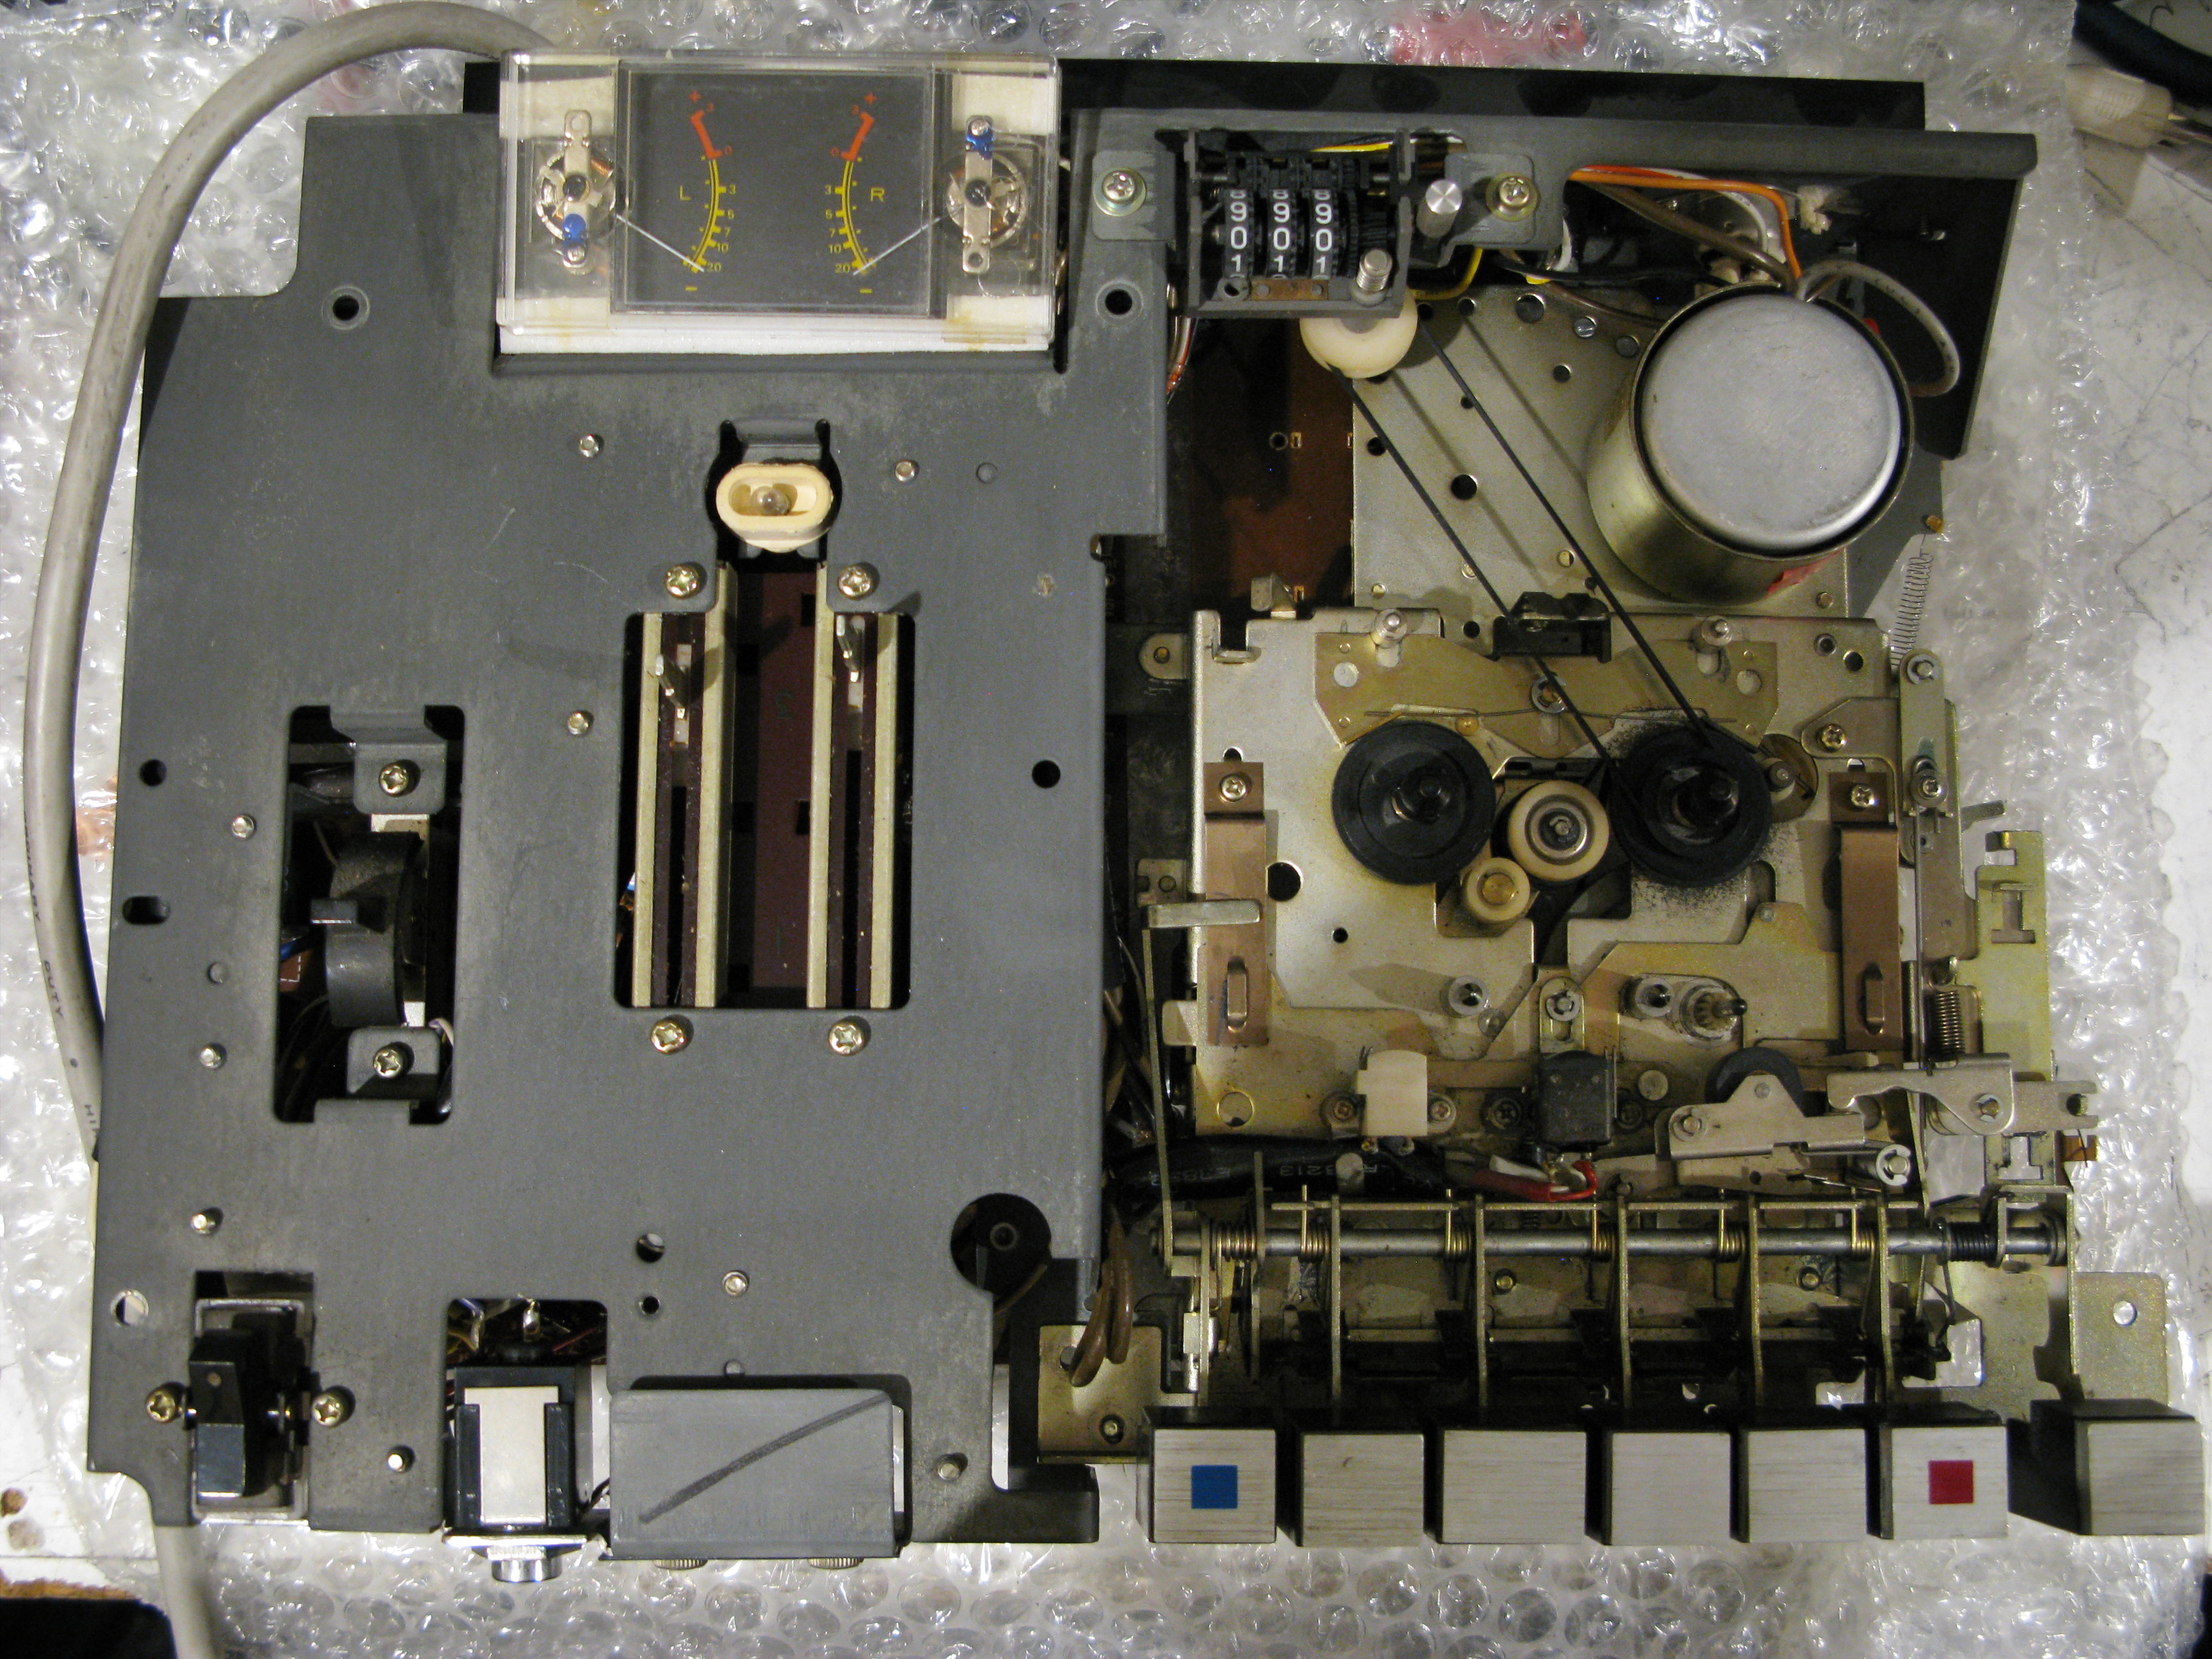
From the front (with cover off):
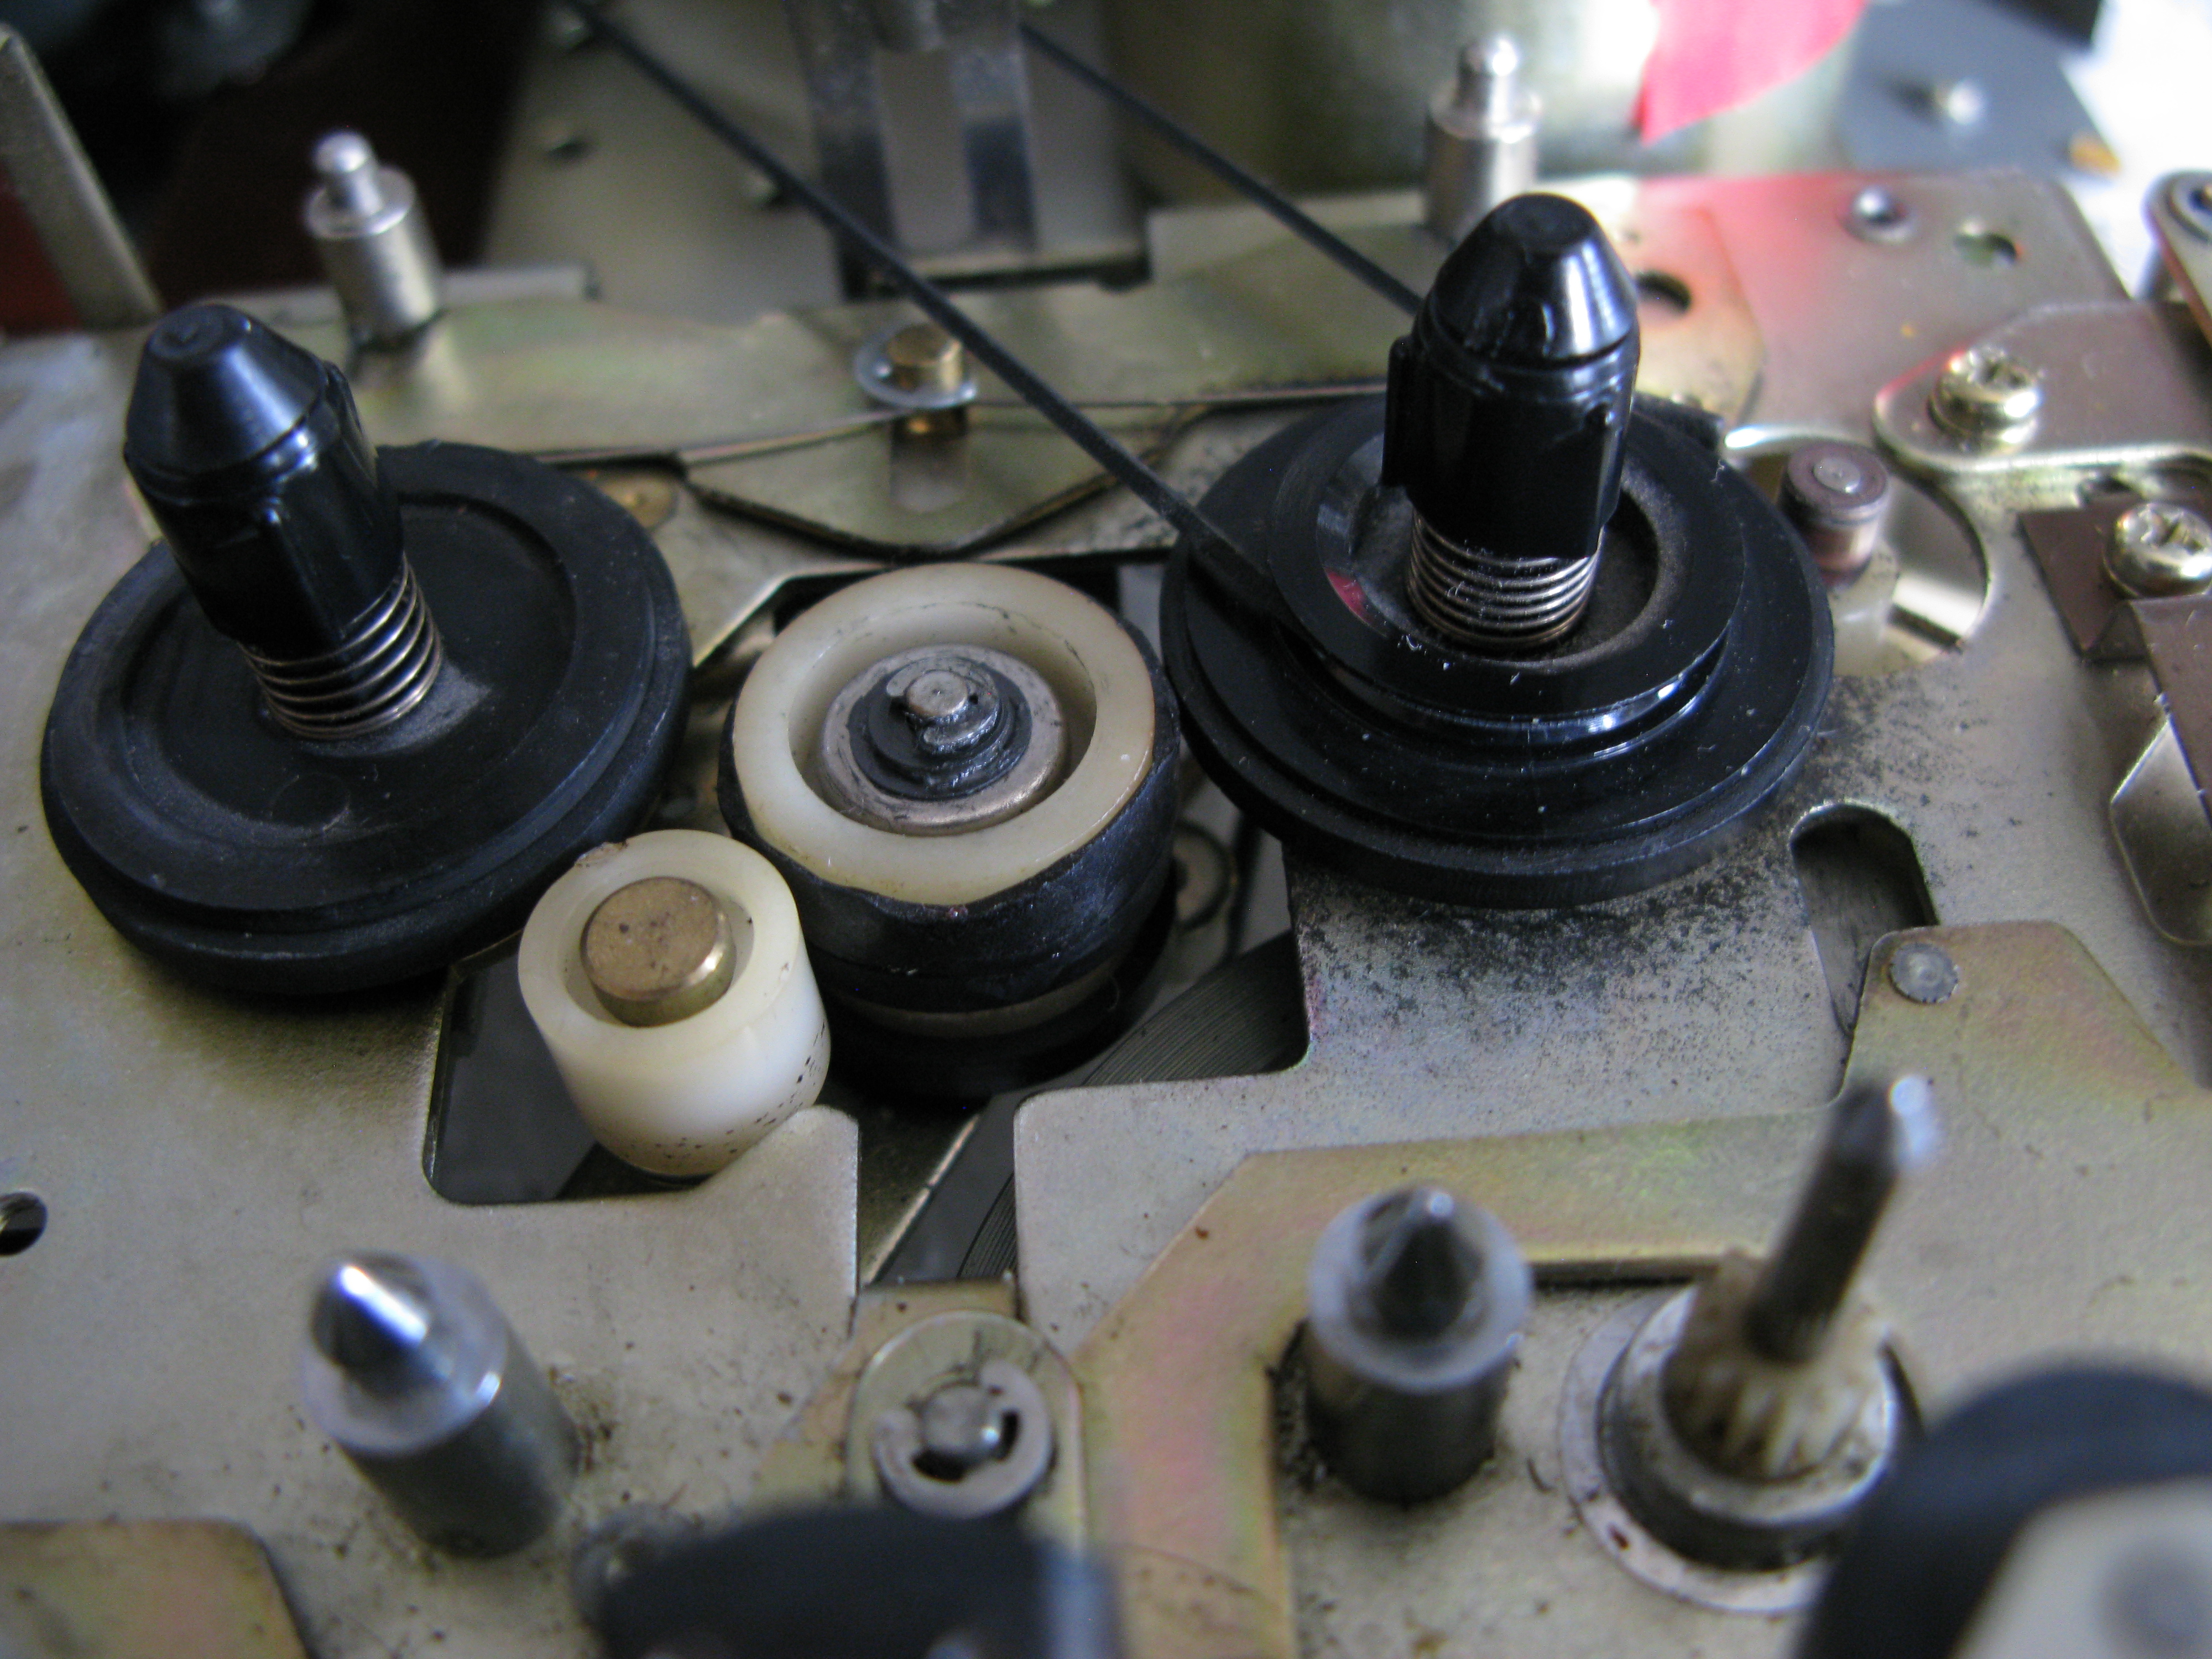
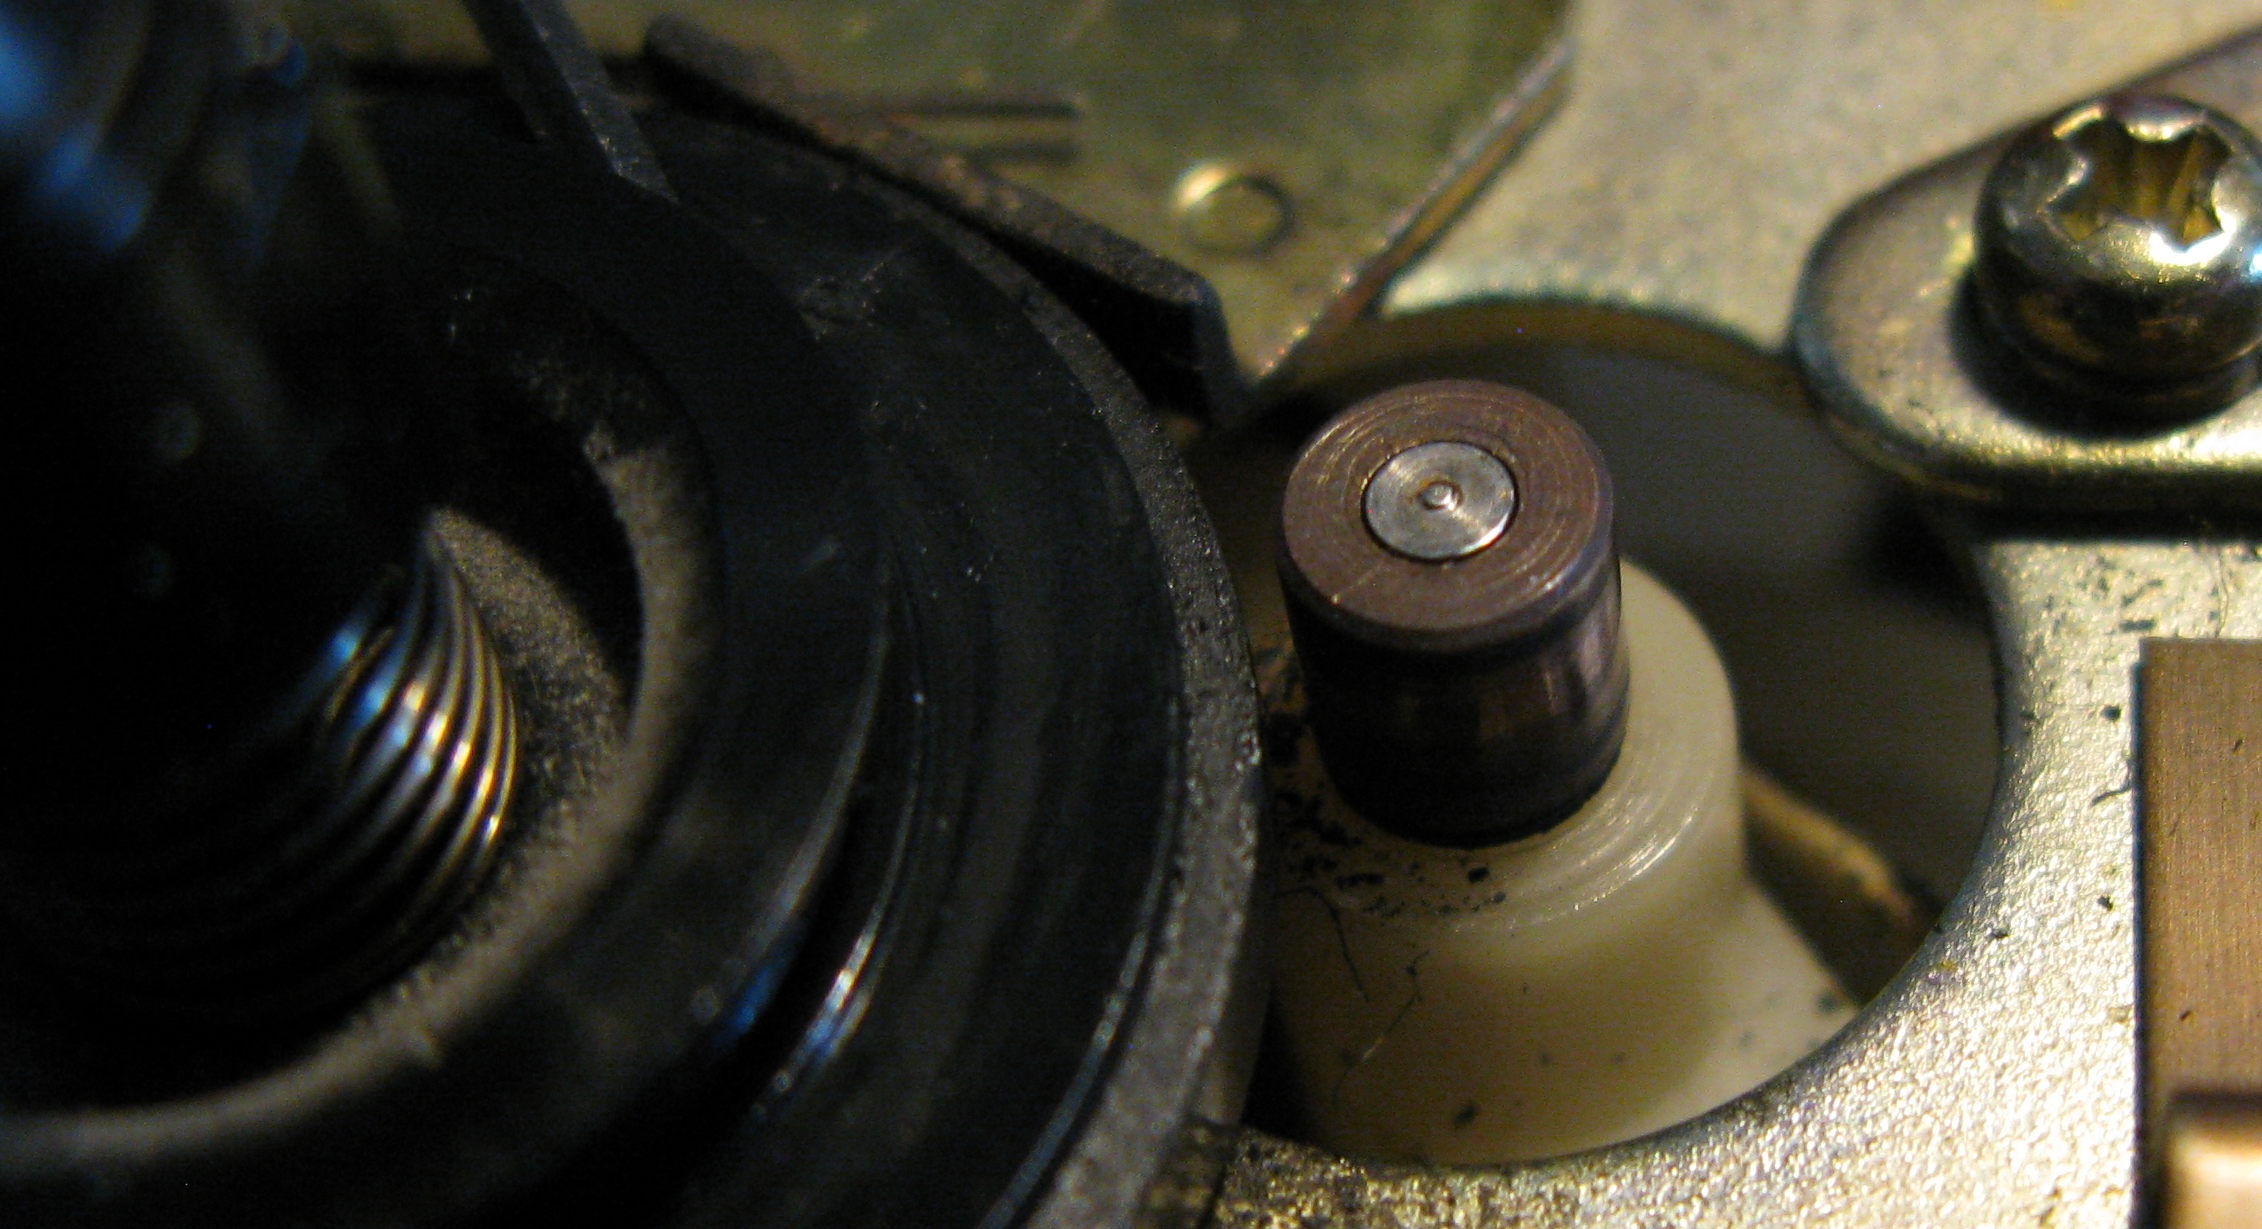
On my machine it suffered from a fast forward problem, where at some points the fast foward would slow down or stop, even though all other tape actions would be OK. The fast forward on the Tc-129 goes via an idler from the flywheel on the reverse to the idler on the front and then to the spindle; there is no separate belt or motor on this model. Some people suggested it was the belt slipping, but as this test shows the idler keeps going and it's the spindle that slips:
I tried the same test on other machines and the force needed to slow it down was much less on this deck. Cleaning the spindle and idler with iso didn't help.
I had the idea to use shrinkwrap sleaving to fix this, and it seems to work. The choice then was whether to add it to the spindle (as a replacement rubber) or to the idler (which was smoothish plastic). Since the idler was only used on fastwind, I thought that was safer since it wouldn't affect play. It seems to work well, although a bit noisily (I think from the second idler bouncing on the new rubber):
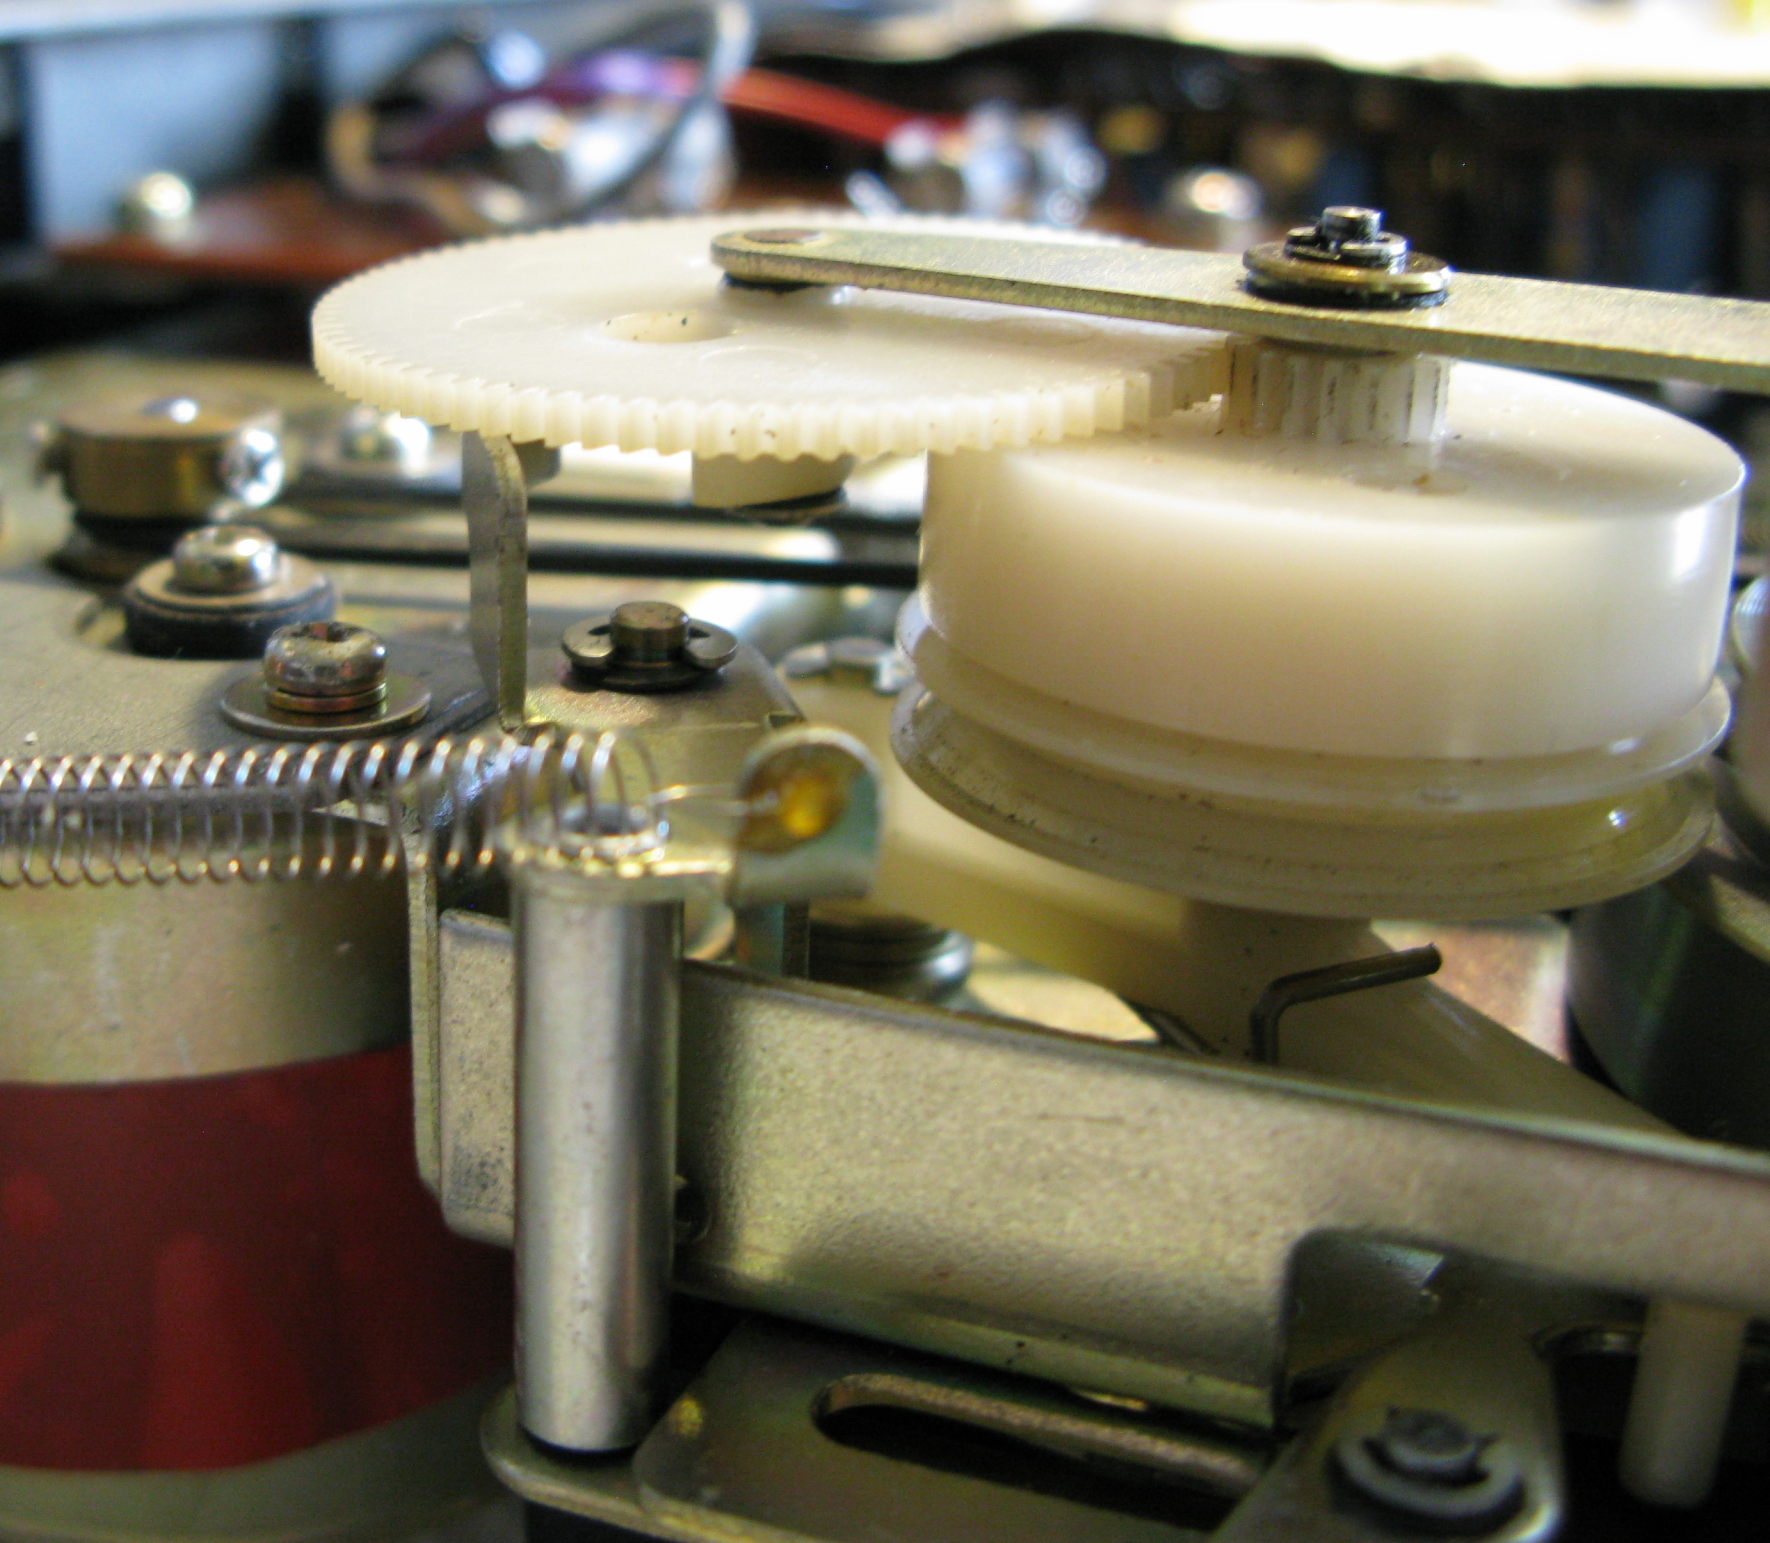
Autostop wasn't autostopping, I think for essentially the same reason as the fast forward problem; the rubber on the take up spindle has warn. A fairly crazy looking mechanism detects when the take up spindles drive no longer turns.
Again I solved this by a piece of heatshrink on the small brass drive wheel, it needed a little bit of glue to stop it flying off, and I roughened the surface of the brass a little with very fine sandpaper. I needed to make sure it was spinning freely after that (it wasn't at first).I undid this fix, see below.
The following video shows the auto stop mechanism in action. A small lever pivots on top of the a pully that's driven by the belt, I think this drives the metal wheel on the top side. Somehow this moves in one direction by the movement of the belt but partially balanced by the moment of the metal wheel. The cog is driven from a small pinion on top of the white wheel, but the movement of the lever is constrained by the metal bracket on top of the flywheel. When the tape stops it moves in the opposite direction. Underneath is a peg that pushes on a metal leaver that triggers the stop.
Alas the autostop fix I tried above caused a problem - forward wind stopped working. It took a little while to figure out, but during winding the take up spool was still in contact with the brass drive wheel used for play. Having reversed the Autostop fix above by removing the heatshrink from the brass wheel, and cleaning up, I then added heatshrink to the take up spindle, something I'd so far avoided.
Adding the heatshrink to the spindle caused other problems, neither rewind or forward wind worked - again because of contact with the brass wheel. Fundamentally the problem is with heatshrink there is no control of the added thickness. What I did then was spend quite some down using fast-forward as a lathe and using a scalpel to work the thickeness of the heatshrink back down to where the brass wheel wasn't touching during winding but did during play. The final size I have is about 25.8mm - which makes me wonder if the original was an inch! One thing I wish I'd done first was lathe the remaining rubber on the spindle to be round before I put the heatshrink on.

mail: fromwebpage@treblig.org irc: penguin42 on libera.chat | matrix: penguin42 on matrix.org | mastodon: penguin42 on mastodon.org.uk